
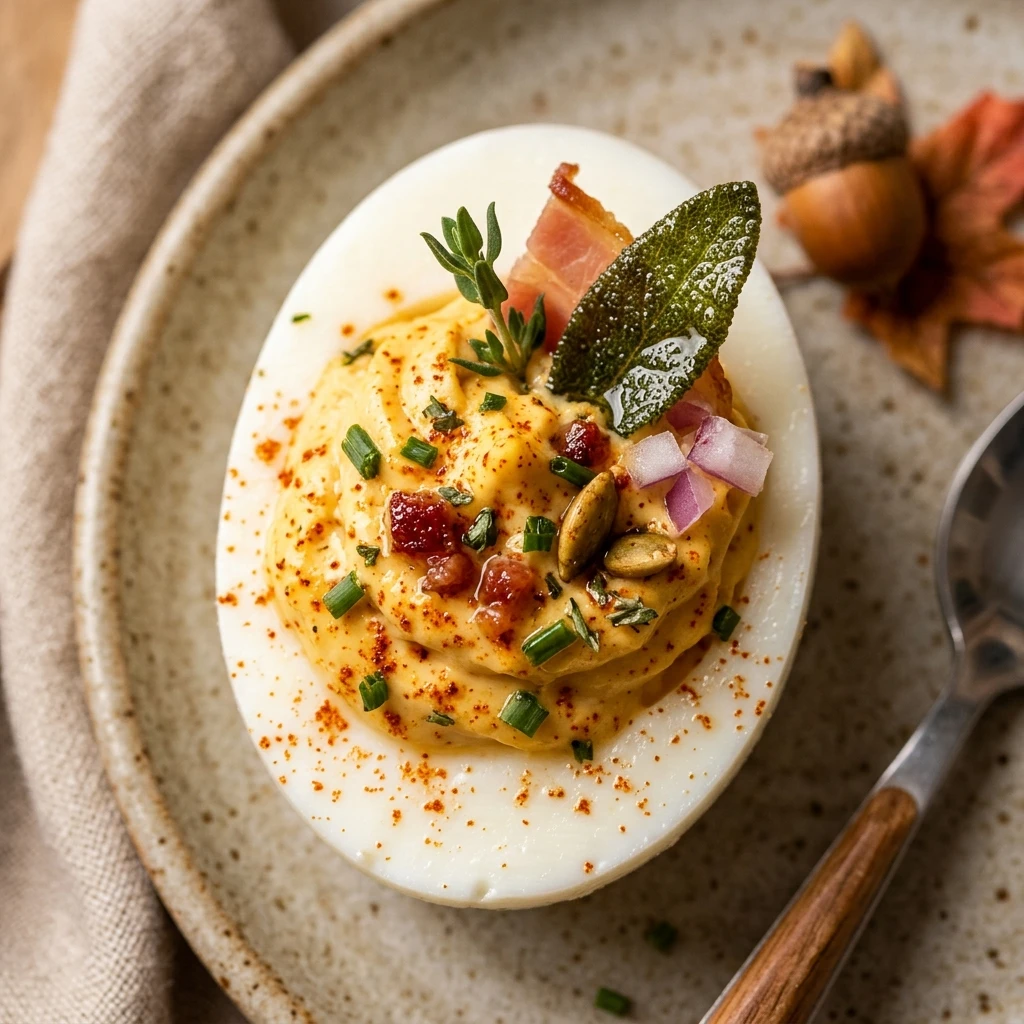
Every year when the leaves start to turn and the air gets crisp, I look forward to our big Thanksgiving dinner more than any other meal. I love creating appetizers that capture the essence of the season, and these little bites are always the first to disappear from the snack table. I find that these Fall-Themed Deviled Eggs bring a sense of whimsy and warmth to the holiday spread that my guests absolutely adore.
Recipe Details
Recipe Information
- Prep Time: 15 minutes
- Cook Time: 10 minutes
- Total Time: 25 minutes
- Servings: 12 servings
- Difficulty: Easy
Nutrition Information (Per Serving)
- Calories: 75 kcal
- Protein: 6g
- Carbs: 1g
- Fat: 5g
Why You’ll Love This Fall-Themed Deviled Eggs
These eggs are the ultimate Thanksgiving appetizer because they combine a classic, nostalgic flavor with a beautiful seasonal presentation. By using a few simple techniques, you can transform a standard deviled egg into a miniature pumpkin that looks stunning on a platter. They are light enough to keep guests satisfied without spoiling the main course, and the smoky flavor from the paprika perfectly complements the savory notes of a traditional holiday meal.
Fall-Themed Deviled Eggs Ingredients & Substitutions
- 6 large eggs
- 3 tablespoons mayonnaise
- 1 teaspoon yellow mustard
- 1/2 teaspoon smoked paprika
- 1/8 teaspoon salt
- 1/8 teaspoon black pepper
- 12 small pieces of fresh chives or green bell pepper for stems
- Extra smoked paprika for dusting
If you prefer a lighter base, you can swap half of the mayonnaise for plain Greek yogurt or mashed avocado. For a bit of extra tang, a splash of apple cider vinegar or pickle juice works wonders in the yolk mixture. If you do not have fresh chives for the pumpkin stems, small slivers of cucumber skin or even tiny parsley stems make an excellent decorative alternative.
Step-by-Step Instructions to Make Fall-Themed Deviled Eggs
Step 1: Hard Boil the Eggs
Place your eggs in a single layer in a saucepan and cover them with at least an inch of water. Bring the water to a full boil, then remove the pan from the heat, cover it with a lid, and let the eggs sit for about 10 to 12 minutes. Immediately transfer the eggs to an ice bath for 5 minutes to ensure they are easy to peel and the yolks remain bright yellow.
Step 2: Slice and Prepare the Yolks
Gently peel the cooled eggs and slice them in half lengthwise. Carefully remove the yolks and place them in a small mixing bowl. Arrange the empty egg white halves on a serving platter, making sure they are dry so they stay in place during the decorating process.
Step 3: Create the Creamy Filling
Mash the egg yolks with a fork until they are fine and crumbly. Add the mayonnaise, mustard, smoked paprika, salt, and pepper. Stir the mixture vigorously until it is smooth and creamy. The smoked paprika is key here as it gives the filling a beautiful orange hue that mimics the look of a pumpkin.
Step 4: Fill the Egg Whites
Spoon the yolk mixture back into the center of each egg white half. You can use a piping bag for a cleaner look, but a simple spoon works perfectly for a rustic feel. Smooth the top of the filling slightly so it has a rounded, pumpkin-like shape.
Step 5: Add the Festive Details
To create the pumpkin ridges, use a toothpick or the tines of a small fork to gently press vertical lines into the yolk mixture. Insert a small piece of chive or green bell pepper into the top of the yolk to act as the pumpkin stem. Lightly dust the finished eggs with a tiny bit more smoked paprika for a vibrant finish.
Tips for Success
For the smoothest filling, make sure your eggs are completely cool before mashing the yolks. Using a handheld mixer can also help achieve a velvety texture if you are making a large batch. If you want the pumpkin ridges to be more pronounced, chill the filled eggs in the refrigerator for 10 minutes before marking the lines with a toothpick. Using eggs that are a week old rather than farm-fresh can often make the peeling process much easier.
Variations of Fall-Themed Deviled Eggs
You can easily customize these eggs to suit your family’s preferences. For a bit of crunch, try mixing in some finely chopped celery or sweet pickle relish. If you like a bit of heat, a tiny pinch of cayenne pepper or a dash of hot sauce adds a nice kick that balances the creamy filling. For a savory twist, top the eggs with small bits of crispy turkey bacon. You can also mix in a teaspoon of pumpkin puree for a deeper color and a very subtle earthy flavor that fits the Thanksgiving theme perfectly.
Serving Suggestions: What to Pair with Fall-Themed Deviled Eggs
These Fall-Themed Deviled Eggs are a fantastic starter alongside a tray of fresh vegetables and a warm spinach dip. They pair beautifully with a sparkling apple cider or a tart cranberry spritzer. On a Thanksgiving table, place them near the roasted nuts and cheese board to create a welcoming appetizer station. Their bright orange color looks especially lovely when served on a dark wood board or a white ceramic platter garnished with a few sprigs of fresh rosemary or sage.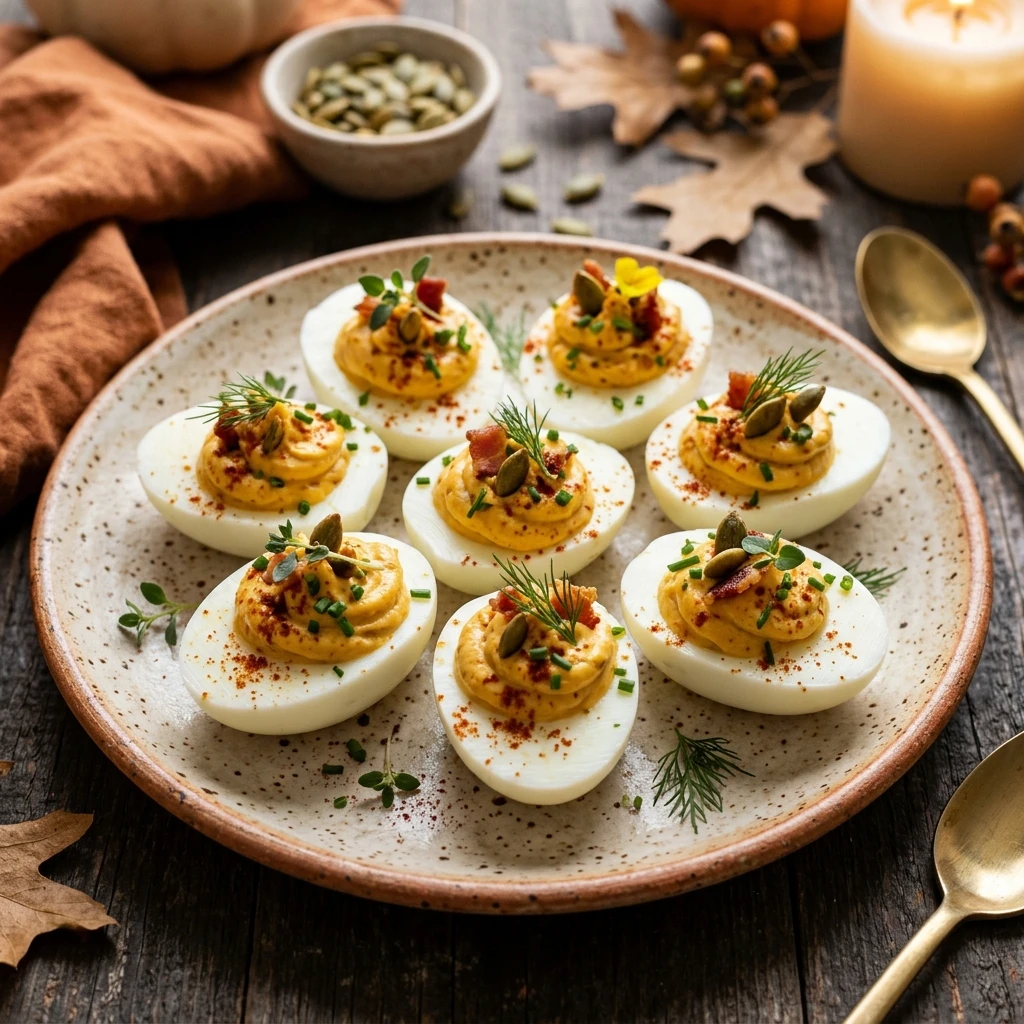
Storage & Reheating Instructions
Deviled eggs are best enjoyed the day they are made, but you can store them in the refrigerator for up to two days. Place them in an airtight container to keep the filling from drying out. To prevent the “stems” from wilting, you may want to add the chive pieces just before serving. Do not freeze deviled eggs as the texture of the whites will become rubbery and unappealing upon thawing. These are served cold, so no reheating is required.
Memories Made Around the Table
I remember sitting at my grandmother’s kitchen counter while she meticulously prepared her famous deviled eggs for our family Thanksgiving. She always said that the secret was in the stirring, and she never let me help until I was old enough to handle the “delicate” work of peeling. Now that I host the holidays, I love adding my own creative touch by turning them into these little pumpkins. Seeing my own children get excited about the “pumpkins” on the table reminds me that the best holiday traditions are the ones that evolve with us while keeping the core memories alive.
FAQs
How do I make the eggs easy to peel?
The best way to ensure easy peeling is to start with eggs that are not too fresh. Adding the eggs directly to boiling water or using an ice bath immediately after cooking helps the membrane pull away from the shell.
Can I prepare Fall-Themed Deviled Eggs in advance?
Yes, you can boil and peel the eggs a day in advance. You can also make the yolk mixture and store it in a sealed bag. Assemble the eggs and add the decorations a few hours before your Thanksgiving dinner for the freshest appearance.
What gives the filling its orange color?
The natural yellow of the yolk combined with a generous amount of smoked paprika creates a lovely orange color. If you want a deeper orange, you can add a tiny drop of natural orange food coloring or a teaspoon of tomato paste.
How do I get the pumpkin ridges on the eggs?
Once the yolk mixture is in the egg white, use a toothpick or the tip of a knife to gently draw vertical lines from the top to the bottom of the filling. This creates the classic segmented look of a pumpkin.
What can I use for the stems if I do not have chives?
Small pieces of green bell pepper, green onion tops, or even tiny parsley stems work perfectly. Some people even use small pieces of cucumber skin or a tiny sliver of a pickle.
Final Thoughts
Fall-Themed Deviled Eggs are a simple yet impactful way to add a touch of seasonal charm to your Thanksgiving celebration. They require very little extra effort but leave a lasting impression on your guests with their festive appearance and classic savory taste. Whether you are hosting a large family gathering or a small intimate dinner, these little pumpkins are sure to be a highlight of your holiday menu. Happy cooking and Happy Thanksgiving!


Fall-Themed Deviled Eggs
- Total Time: 25 minutes
Ingredients
- 6 large eggs
- 3 tablespoons mayonnaise
- 1 teaspoon yellow mustard
- 1/2 teaspoon smoked paprika
- 1/8 teaspoon salt
- 1/8 teaspoon black pepper
- 12 small pieces of fresh chives or green bell pepper for stems
- Extra smoked paprika for dusting
Instructions
- Place your eggs in a single layer in a saucepan and cover them with at least an inch of water. Bring the water to a full boil, then remove the pan from the heat, cover it with a lid, and let the eggs sit for about 10 to 12 minutes. Immediately transfer the eggs to an ice bath for 5 minutes to ensure they are easy to peel and the yolks remain bright yellow.
- Gently peel the cooled eggs and slice them in half lengthwise. Carefully remove the yolks and place them in a small mixing bowl. Arrange the empty egg white halves on a serving platter, making sure they are dry so they stay in place during the decorating process.
- Mash the egg yolks with a fork until they are fine and crumbly. Add the mayonnaise, mustard, smoked paprika, salt, and pepper. Stir the mixture vigorously until it is smooth and creamy. The smoked paprika is key here as it gives the filling a beautiful orange hue that mimics the look of a pumpkin.
- Spoon the yolk mixture back into the center of each egg white half. You can use a piping bag for a cleaner look, but a simple spoon works perfectly for a rustic feel. Smooth the top of the filling slightly so it has a rounded, pumpkin-like shape.
- To create the pumpkin ridges, use a toothpick or the tines of a small fork to gently press vertical lines into the yolk mixture. Insert a small piece of chive or green bell pepper into the top of the yolk to act as the pumpkin stem. Lightly dust the finished eggs with a tiny bit more smoked paprika for a vibrant finish.
- Cook Time: 25 minutes
- Diet: Gluten-Free, Keto, Low-Carb, Vegetarian